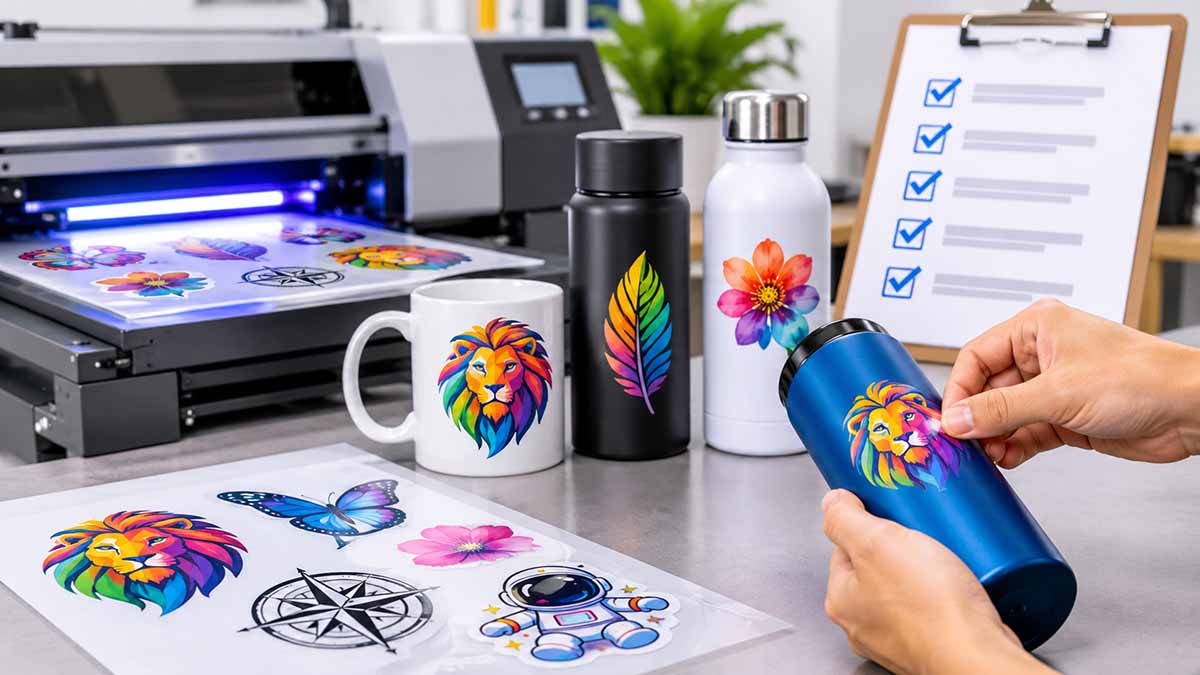
A shop that designs decals can often quote a job before it has handled the finished object. That works for familiar surfaces. It gets harder when a client wants a fine logo on a powder-coated bottle, a small mark on a curved container or a decal that must line up with an existing label. If you are considering a commercial UV DTF printer, test the artwork, film system and finished object together before you decide which jobs to take on.
Keep a clean master and test the artwork at size
Start with a vector master for logos and lettering when the original design allows it. Keep an editable copy and export a production file in the format your printer’s RIP software supports. Check the final dimensions before export. Inspect the smallest lettering, thin strokes and gaps at the actual finished size. A counter inside a small letter that looks open on a large monitor can look crowded once it is printed and transferred.
If the equipment supports white or clear ink, ask how the software handles those layers. Use a sample sheet with your regular artwork, including pale lettering for dark surfaces and a design with fine isolated details. Compare the output with the approved artwork. Take a photo after application so the next operator can see the result on the object.
You may also like: Top 10 AI Tools Revolutionizing Vector Design
Verify the film system and the substrate
Ask the vendor to demonstrate the film and ink system specified for the model. Some UV DTF workflows use a print film and a separate transfer film, with the artwork applied after the films are brought together. Confirm the steps for your model and check which supplies the vendor can replenish regularly. Have the vendor explain how to handle roll changes and how the shop should check for transfer defects during a run.
Test each intended substrate with a real sample. Glass, coated metal and plastics can behave differently, and two objects described as the same material may have different coatings or textures. Try the application on a flat area and then on a curve that resembles the job. Follow the supplier’s instructions for surface preparation, application and the time before evaluation. Document edge lift, bubbles, detail loss and any marks from handling. Make durability or cleaning claims only after testing the finished application for that intended use.
Compare equipment against actual jobs
List the printable width you need, the largest piece of artwork you typically sell, and the number of repeat decals you want to produce per run. Check how each model handles film take-up, software support, ink supply and routine maintenance. Calculate usable output after any test strips, trim or rejected transfers. Give the same design and substrate sample to each vendor. That makes the results easier to compare.
When drawing up the shortlist, review the UV DTF printers from DTF Bank alongside the film and substrate tests you have planned. Ask the supplier to confirm the exact inks, films and service requirements for the chosen model.
Approve the application with a repeatable sample
Create a short record that includes the artwork revision, the object, surface preparation, transfer material and a photo of the finished sample. If a customer supplied the blank, keep an approved spare when available so a reorder can be checked against the same finish. A useful equipment demonstration ends with a sample you can inspect and reproduce. That sample tells you which decal jobs you can quote confidently with the printer, consumables and application process you have tested.